News + Events
Everyone’s “All-In” for Acrylic Pouring in Art Class

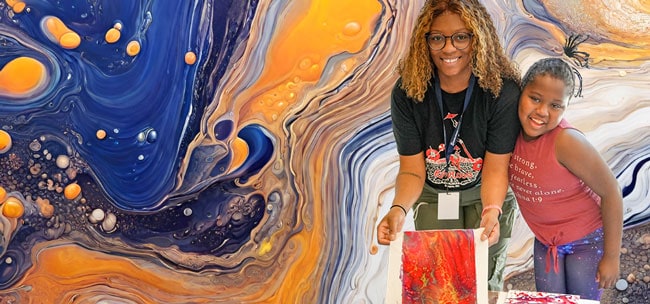
Students learned the artistic style called acrylic pouring, which is a versatile technique involving the experimentation with different colors, pouring methods, and additives—all of which can lead to exciting and unique results.
 Acrylic pouring is a popular art technique that involves mixing acrylic paints with various pouring mediums to create fluid, vibrant, and abstract artworks. The process typically involves pouring, dripping, or drizzling the paint onto a canvas or other surfaces to achieve unique patterns and designs.
We caught the participants as their works were drying and were able to see the end results. They somehow remained neat despite what could be an otherwise messy process. Waiting for the paint to dry can be quite the anticipation-filled moment, especially when everyone is eager to see the beautiful end results of their artistic endeavors.
Congratulations to each student for creating their own personal masterpieces! Art is such a wonderful way to express oneself and discover hidden talents. Here’s to many more inspiring and successful art classes in the future!
Below is a step-by-step guide to acrylic pouring. Befor you begin, remember to embrace the unpredictability of this fluid art technique!
- Gather Materials:
- Acrylic paints: Choose a variety of colors you want to use in your artwork.
- Pouring medium: A substance mixed with the paint to create the right consistency for pouring. Common options include pouring medium, Floetrol, or Liquitex Pouring Medium.
- Canvas or other surface: The surface on which you’ll pour the paint (canvas, wood panel, etc.).
- Mixing containers: Cups or bowls to mix the paints and pouring medium.
- Stir sticks or palette knives: For mixing the paint and pouring medium.
- Protective gear: Gloves, apron, and a drop cloth to protect your workspace.
- Prepare the Paint:
- In separate containers, mix the acrylic paint with the pouring medium. The ratio of paint to pouring medium can vary, but a common ratio is about 1 part paint to 1-2 parts pouring medium. Adjust the ratio to achieve the desired consistency.
- Mixing Colors:
- Mix different colors in separate containers to create a variety of hues and shades. You can experiment with various color combinations and techniques for blending.
- Pouring Technique:
- Choose a pouring technique, such as the flip cup, dirty pour, puddle pour, or swipe technique.
- For a flip cup, layer different colors of paint in a cup and flip it onto the canvas, allowing the paint to flow and spread.
- For a dirty pour, combine the paints in a cup without stirring, then pour them onto the canvas.
- Pouring the Paint:
- Pour the mixed paint onto the canvas in a controlled and deliberate manner, allowing the colors to blend and flow naturally.
- Tilt the canvas gently to encourage the paint to spread and cover the entire surface.
- Create Patterns:
- Use various tools like palette knives, brushes, or blow dryers to manipulate and create patterns in the paint as it spreads.
- Drying and Finishing:
- Allow the artwork to dry completely, which may take several hours or even a day depending on the thickness of the paint.
- Once dry, you can add additional details, varnish, or seal the artwork to protect the surface and enhance its appearance.
[envira-gallery id=”2702″]